I had a 0.8 nozzle with my Ultimaker 2+ but for some reason I never really experimented a lot. I think this may have been because I was aware that other settings like flow rate, temperature and retraction would need to be adjusted also and I couldn’t be bothered when everything was nicely dialled in.
With the Sigma a large part of the draw to purchase a hot end family was the corresponding profiles generated using their Progen tool. This would give me a plug and play approach to nozzle changes and nozzle size combinations.
Changing the entire hot end feels a little over-engineered when usually you’re just changing out a nozzle. But there’s something comforting in changing everything. Chances are with a steel nozzle you’re going to be a bit more adventurous with filaments, it’s good to know there’s no way that will have any effect on my daily use 0.4, in the nozzle, or the heat break etc. They’re also fairly reasonable in price at around 35 – 40 euros.

Disclosure – I purchased my hot end family for 20% off at Hawk 3D Proto here: http://www.hawk3dproto.co.uk/bcn-sigma-hot-end-family.html – It’s currently 20% off if you act quickly. I didn’t receive any bribe or motivation (other than the 20% off) to mention them here. However, they deliver next day, let you know the minute things come into stock and the owner, Ben, will happily answer questions and constantly ensure you’re happy – even outside of hours. Can’t recommend them highly enough.
The nozzle was easy to replace. Simply remove the back housing (2 screws) then unscrew the hot end from the top of the housing (2 more hex screws) , unplug and a small jerk to the left to slide out. There is a zip tie you’ll need to clip.
You’ll notice that the new hot ends have thermal paste added (there was some residue) and that the construction is identical to the original hot end.
When putting in the new hot end I was left with an orientation decision, twist it like the original so that it’s very tightly squeezed into the housing (and so putting quite a bit of stress on the wiring for the thermistor etc, or screw in a part turn counter clockwise before and give the wires a bit of room). Of course that’s what I did. The wiring also feels firmer and less flexible so that made the decision a bit more obvious.
For good measure I ran bed leveling (was a part turn out, perhaps from all the moving about I’ve been doing) then a full calibration.
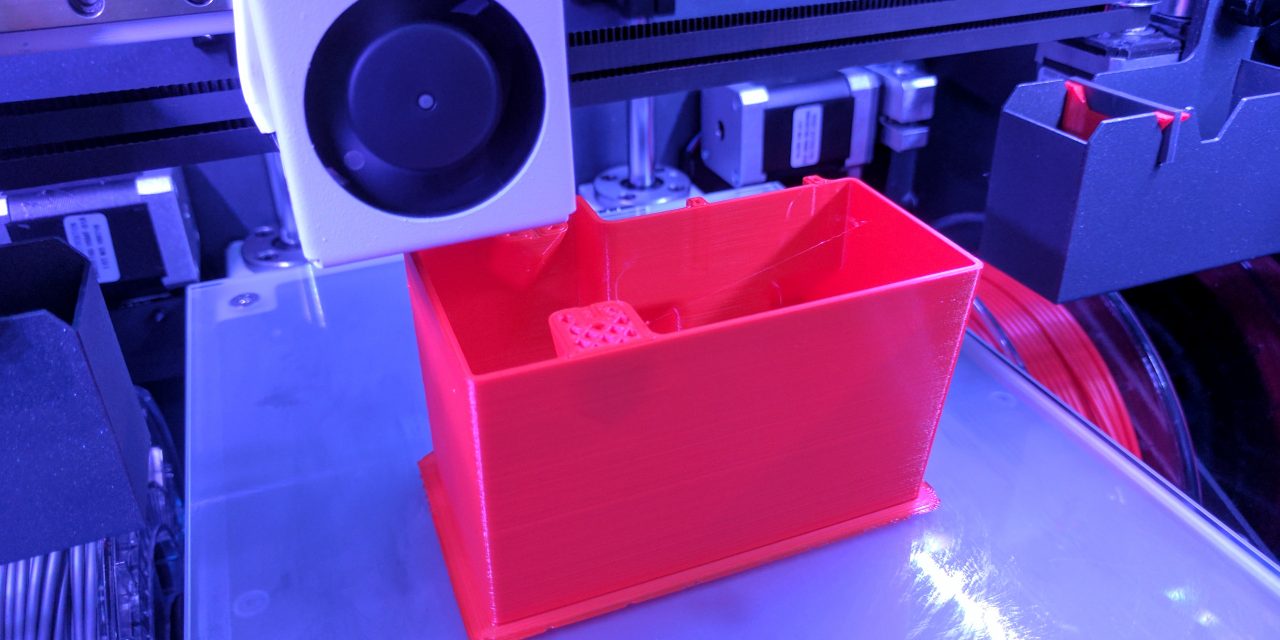
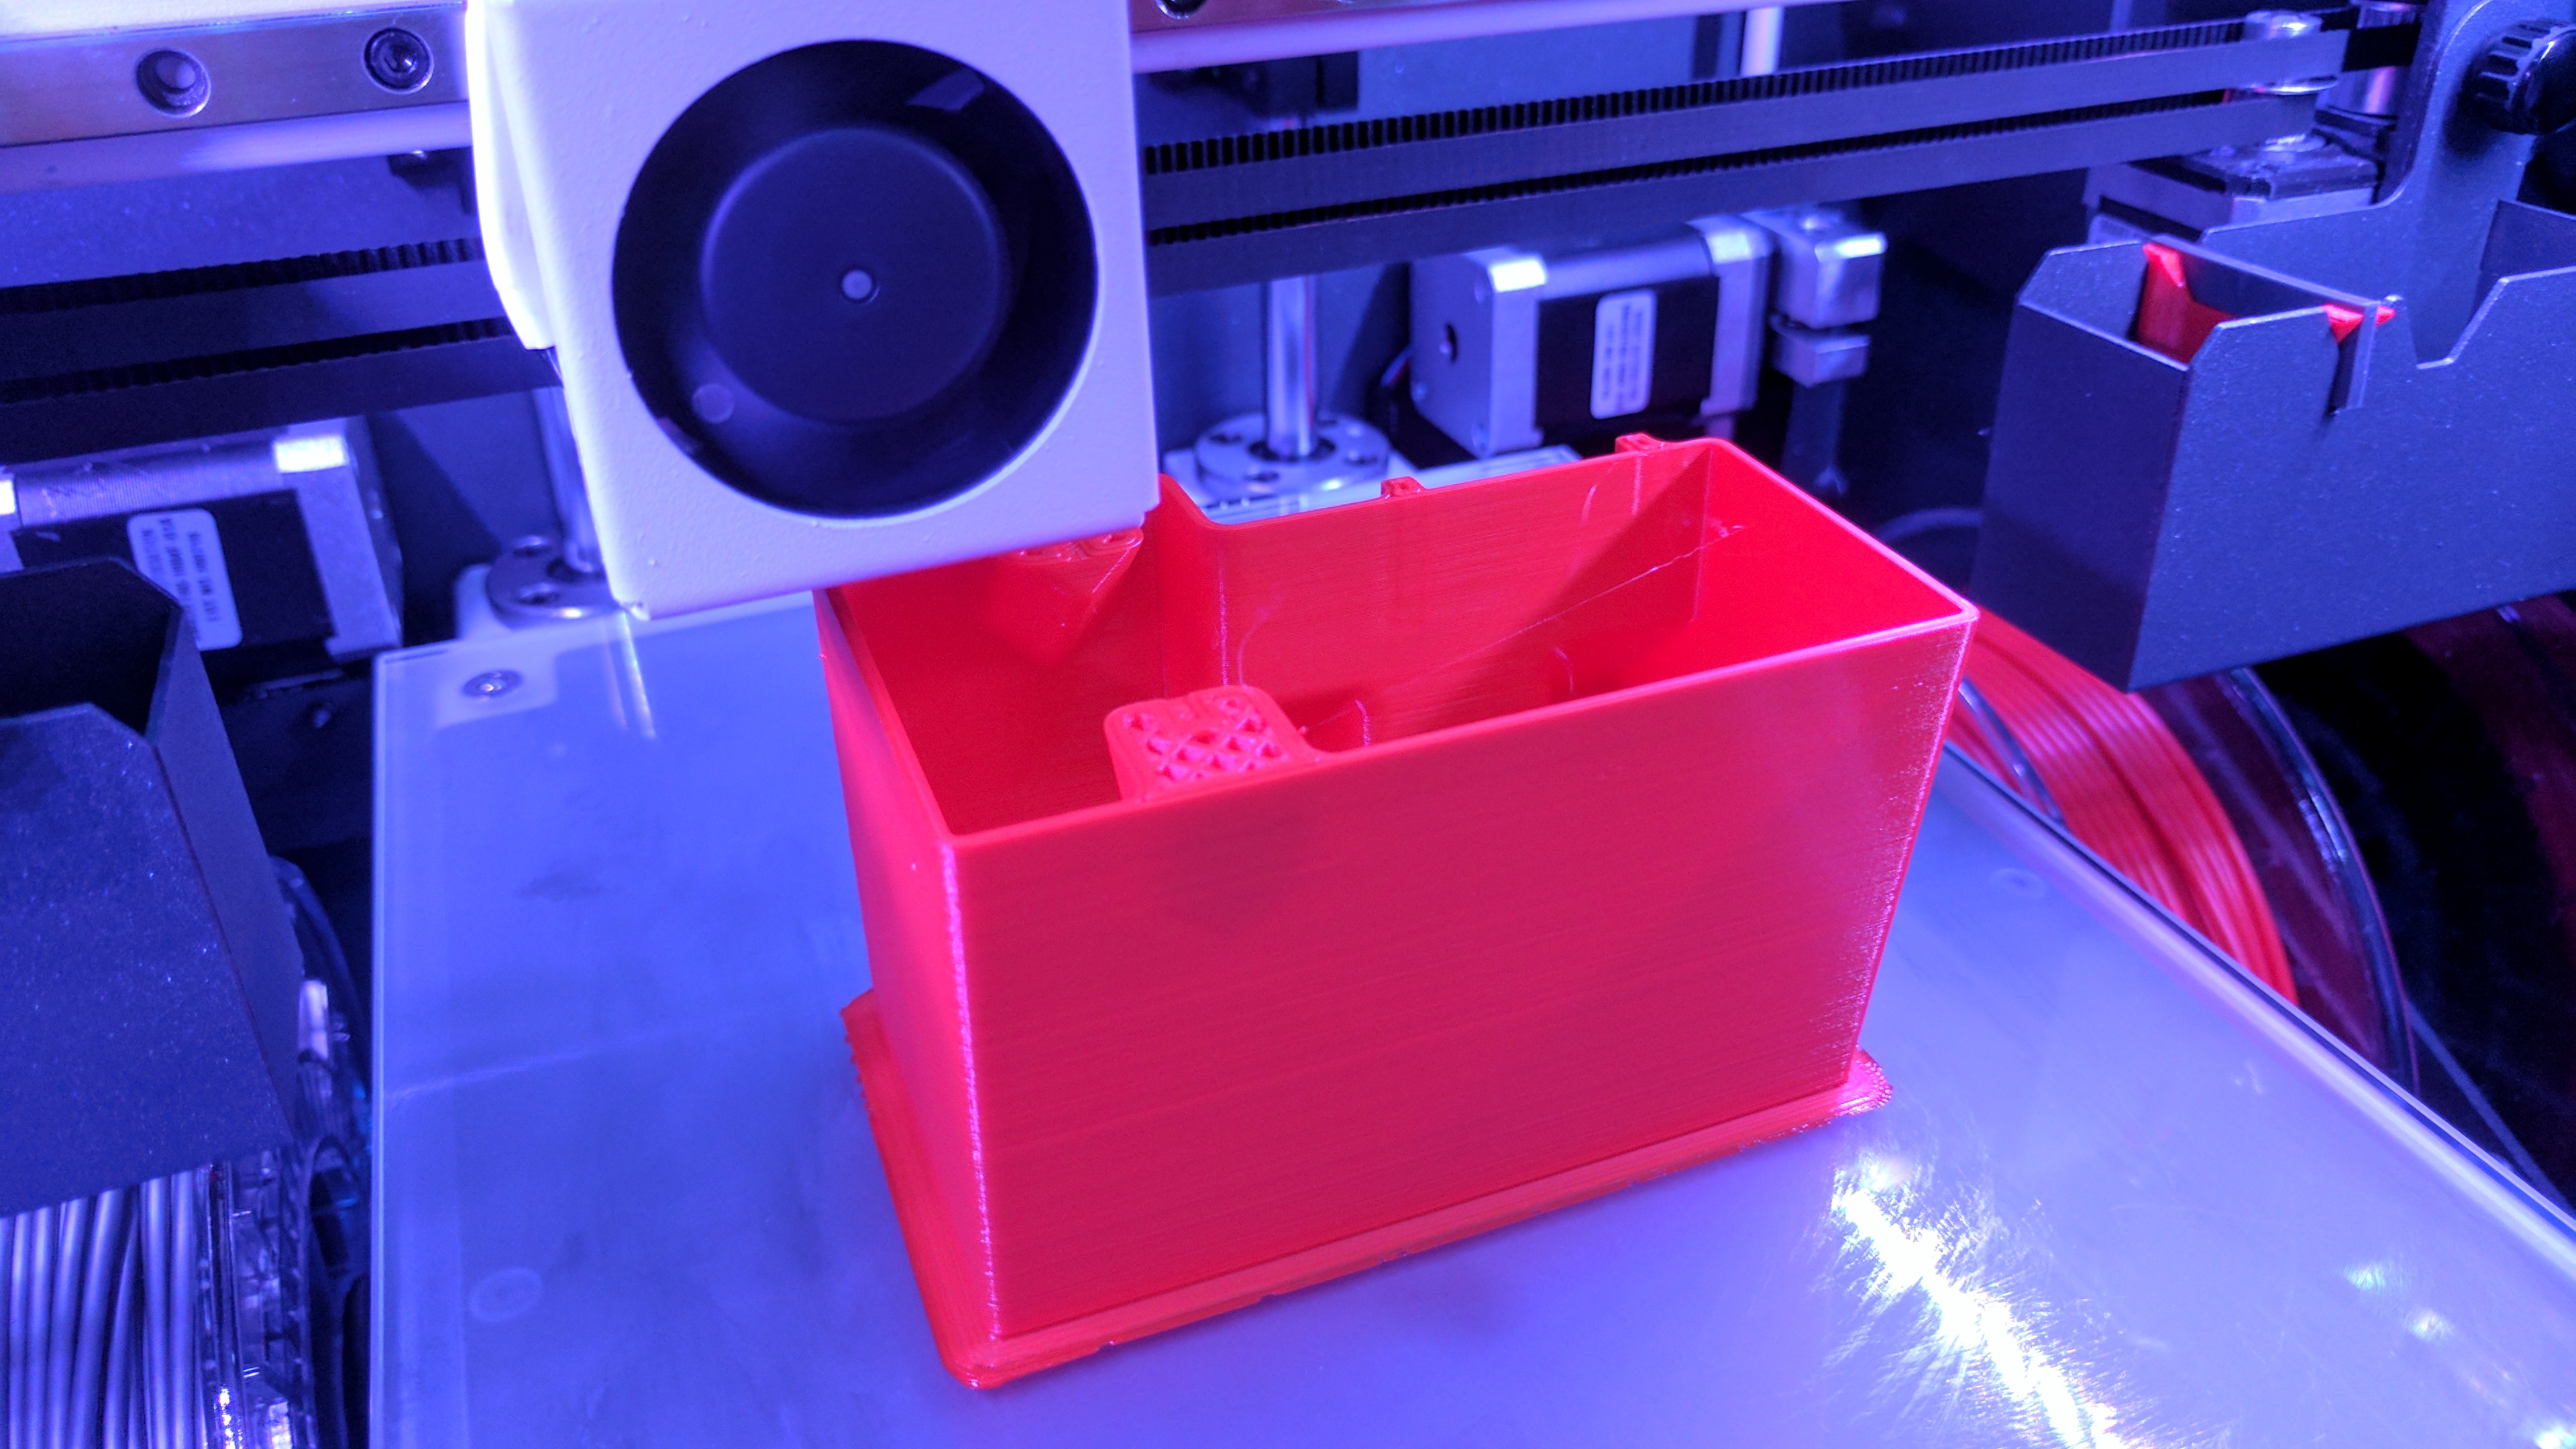
What to print first? Well, during this research I found on the latest page advertising these hot ends (https://www.bcn3dtechnologies.com/en/3d-printer/hotend-family/) the stl for a new purge bucket, larger to accommodate the additional purges from the new nozzles. Awesome, this was something I was planning to redesign anyway, the fact it’s supplied is great forethinking. This will also appease 3D printing celebrity Joel Telling as I know this was one of his main gripes.
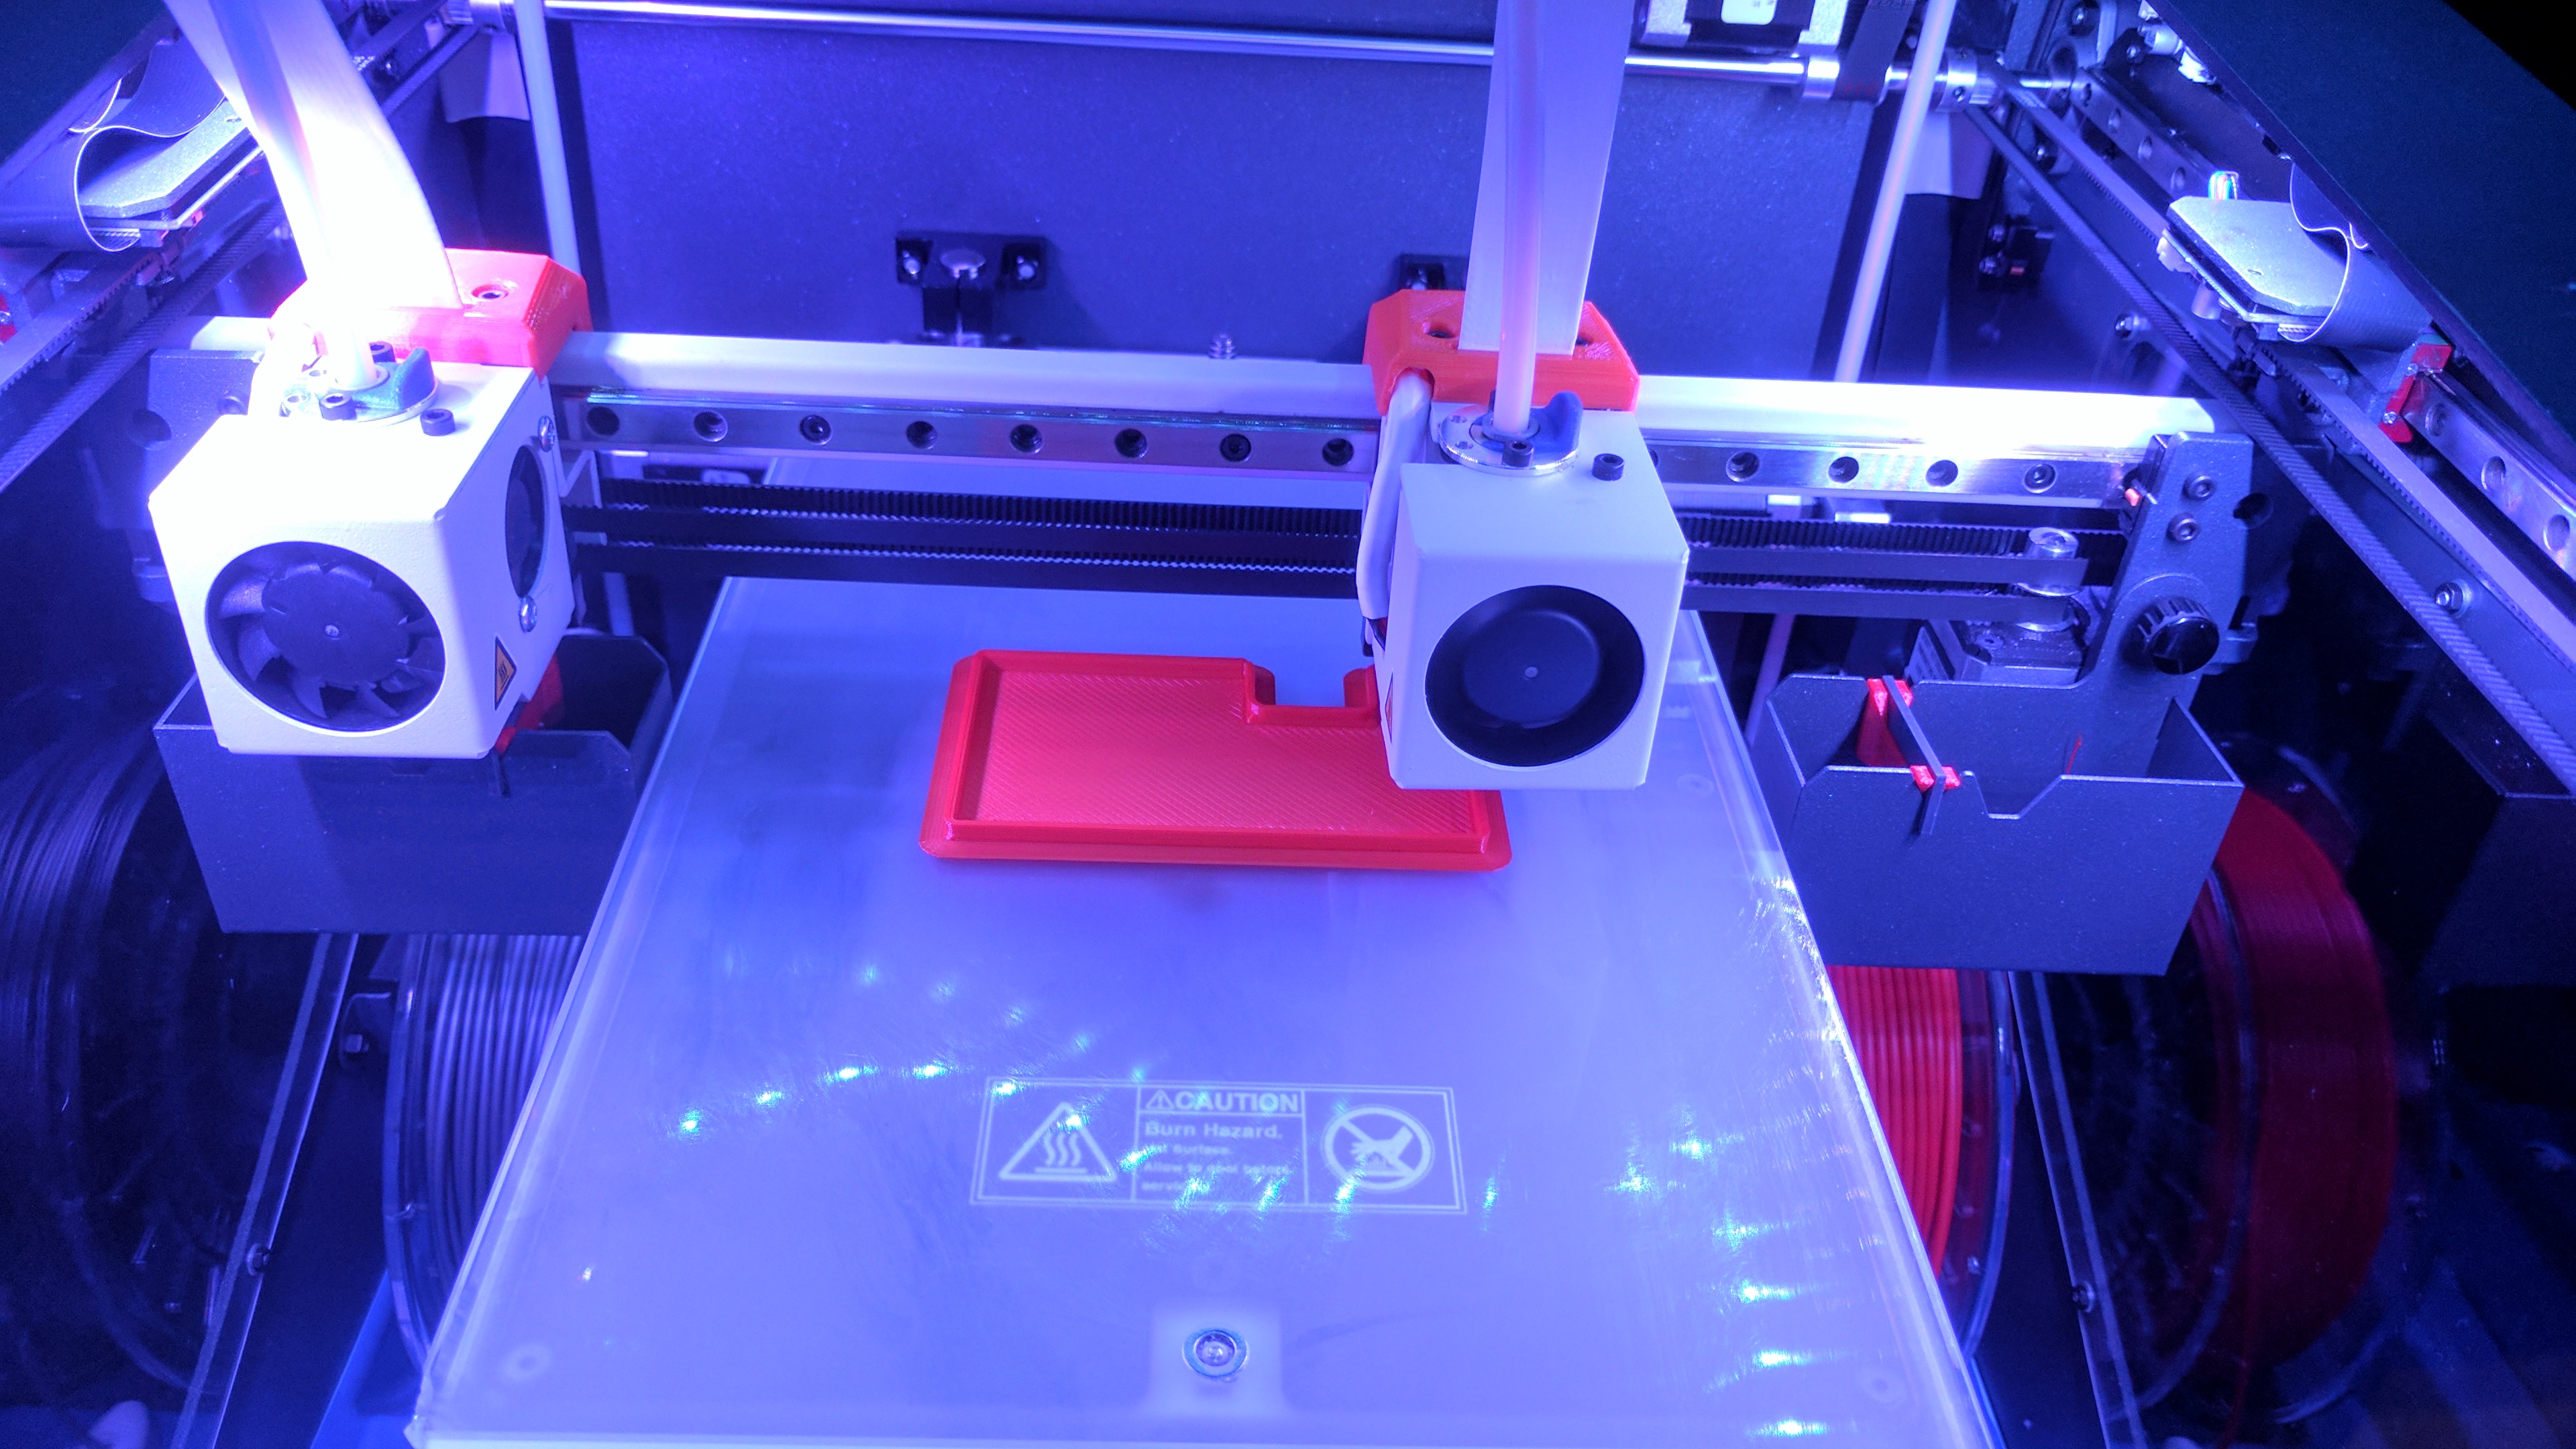
It was plug and play, at 0.8 I chose 0.25 layer height. The print time was reduced significantly but I reduced down the speed a little to utilize the fact it was printing overnight anyway.
Everything worked great. The nozzle was perfect from the offset with practically identical settings to the 0.4mm nozzle with the Colorfabb PLA / PHA I was running.
My experience with seeing people experimenting with large nozzles usually is to push the boundaries of large layer height, I wasn’t all that interested in quality reduction in that way, more for the speed improvements of reducing 2 passes to 1 on solid infill and perimeters (its hard to explain how awesome it is to watch that, it’s like having a time machine.
Print quality is fantastic, I’d liken it to coloring in with a felt tip instead of a biro. Once you use it it just makes so much sense. No noticeable definition loss on perimeters either.
Of course the end game here is to use a small nozzle on one IDEX and a large on the other, small for perimeter and large for infill etc. That required a bunch of purging though so let’s finish the buckets first.
Very impressed with the 0.8, I’m sure many of views and positives will be increased further when trying the 1mm. Of course if you don’t wanna go whole hog you can buy each separately but without the need to significant savings.
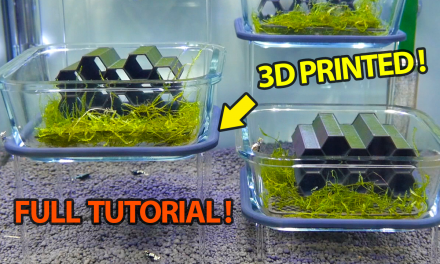
As for the larger purge bucket (known as the Jumbo for good reason), it’s awesome, much bigger and total weight of just 60 grams (also something else modded to my lucky orange colour, which you need plenty of printing). Now I just needed to do the other.

My learn here is to not just accept, but to continue experimenting even when you think you’ve reached endgame. There is always more to learn, improvements to make.
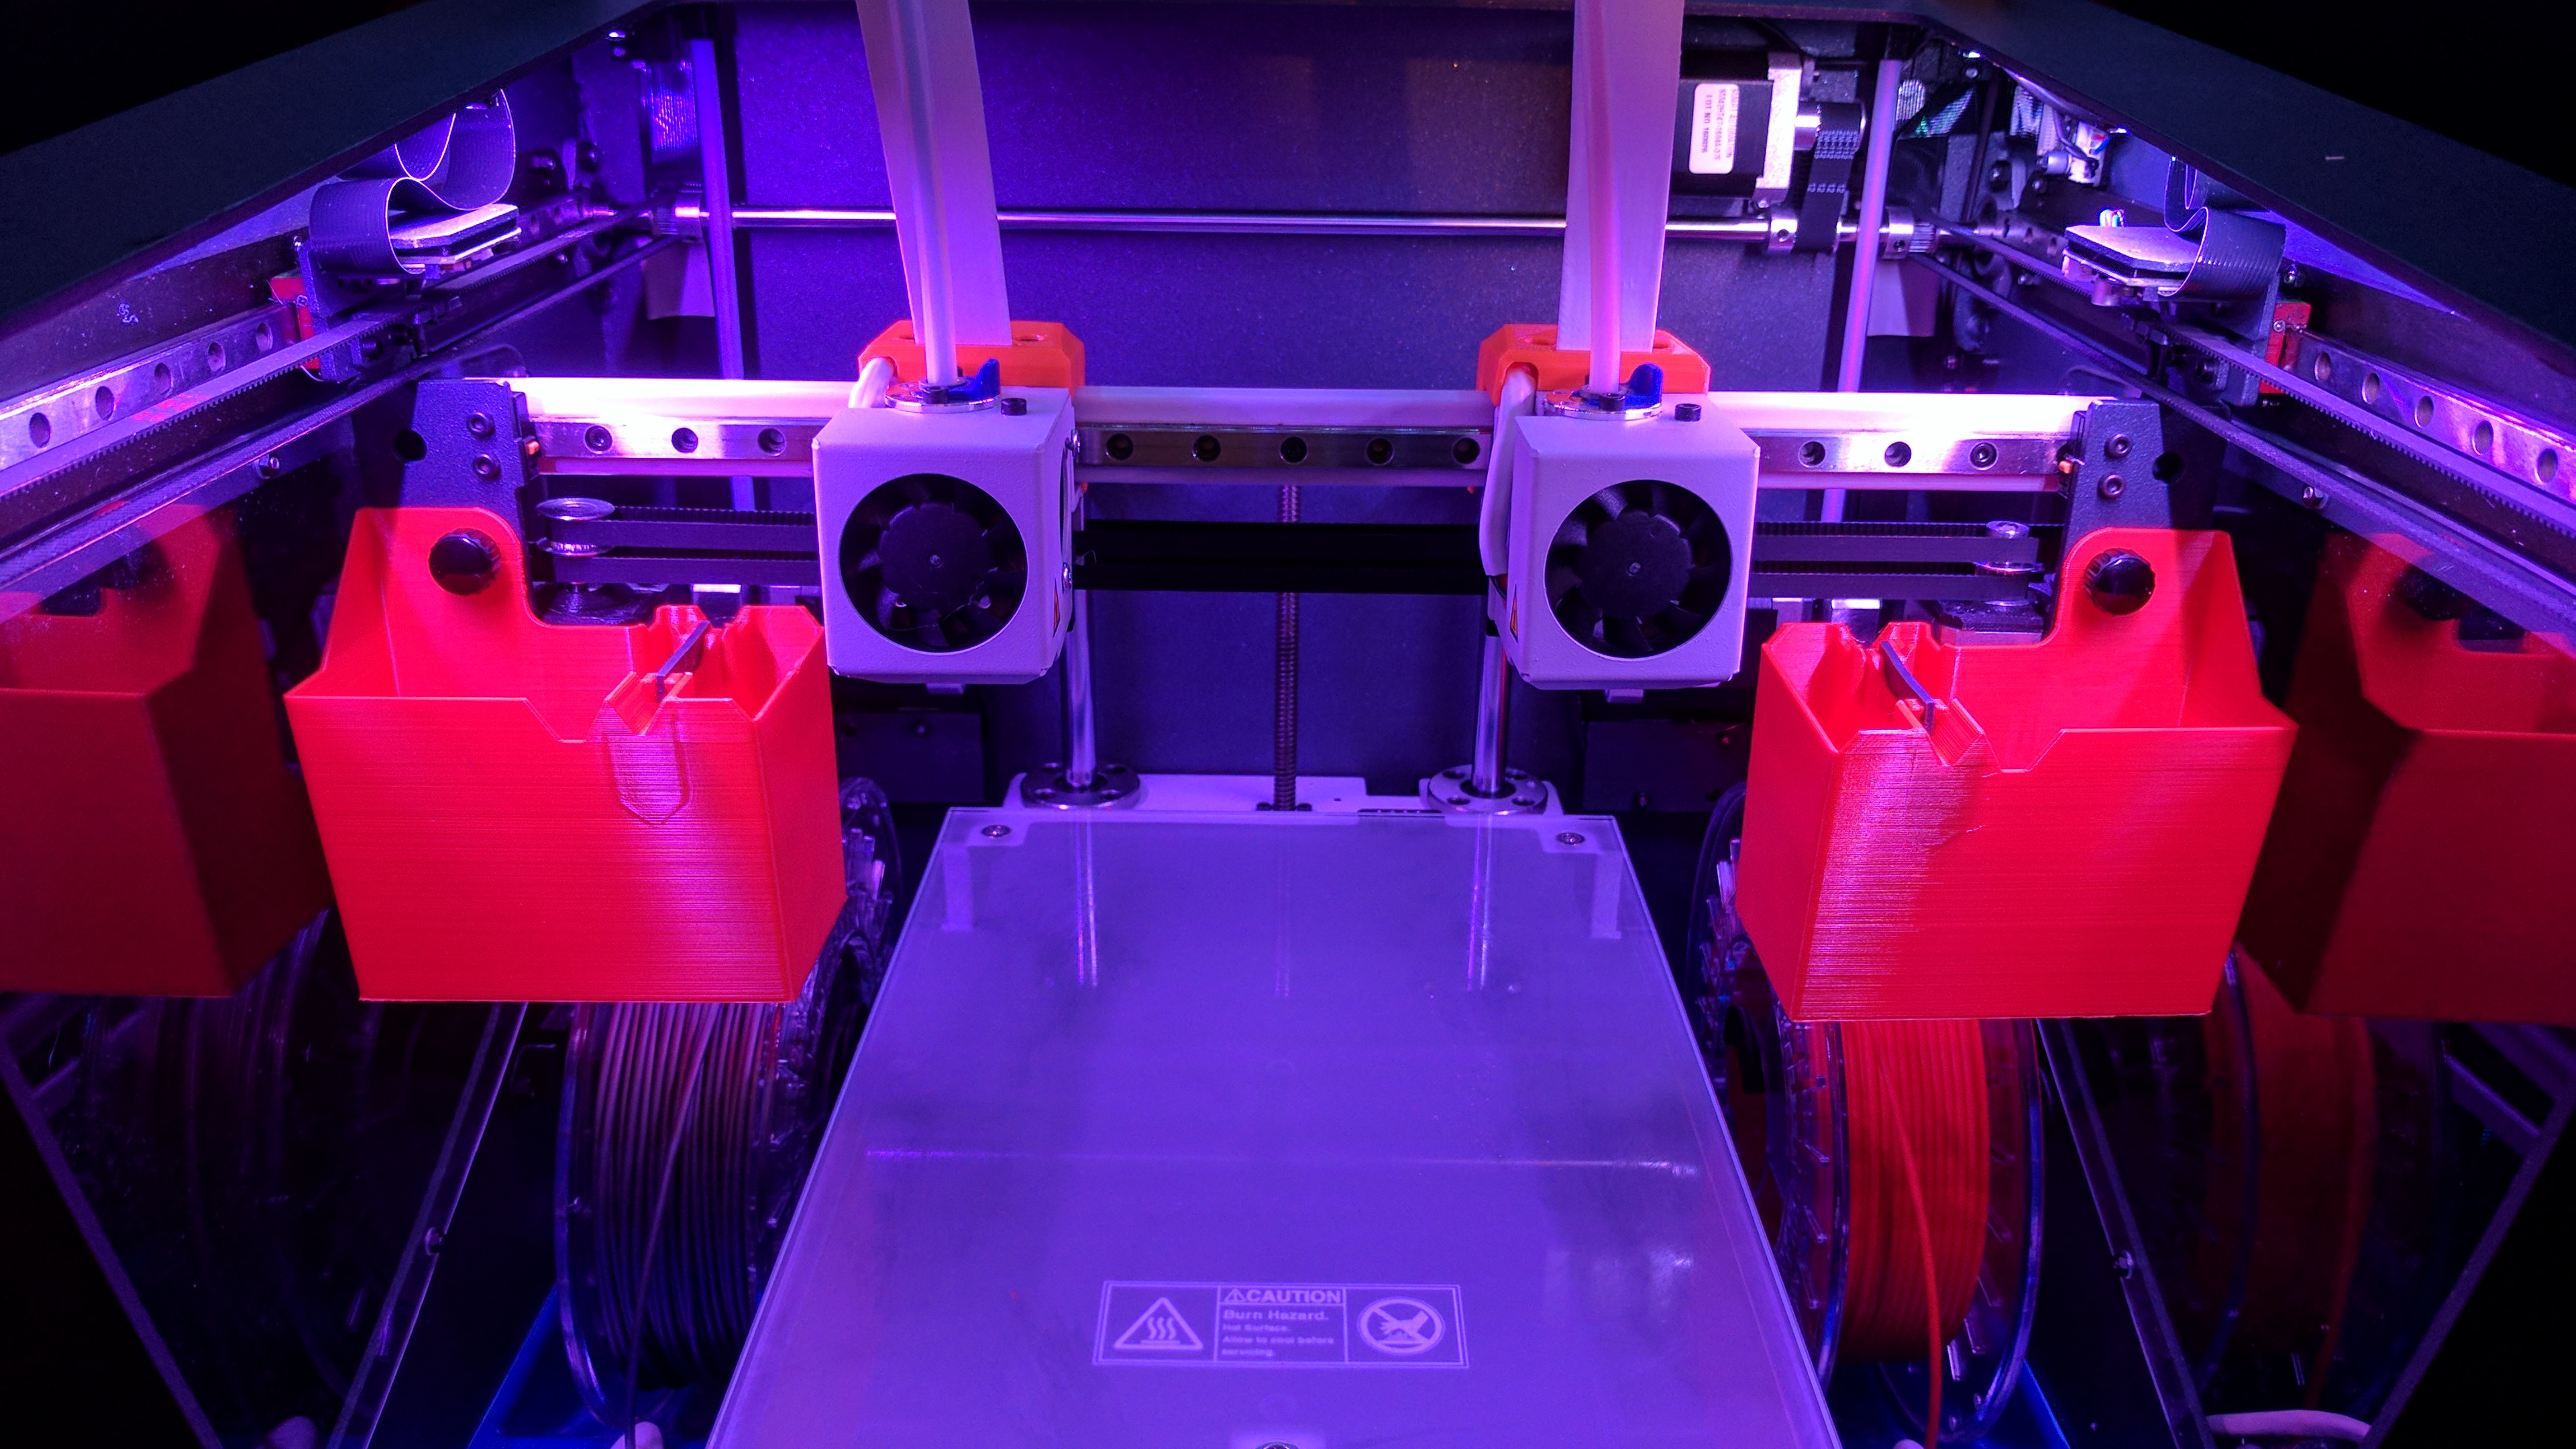
The right collector was printed at 30 mm/s the left at 60 mm/s (4 hours for right and just 2 hours for the left. Yes 2 hours!).
The left actually doesn’t fit quite right, which is ironic as it’s actually shared as the left and needs to be flipped for right. Left seems to catch the housing a little and so needs slight modification, but I’ll update soon. I don’t think that anything to do with print quality, more alignment with the parts as everything isn’t quite symmetrical.
And a video for good measure.