When you first buy your 3-D printer you’ll undoubtedly be purchasing lots of accessories, consumables and tools.
There are a number of very useful tools you will absolutely want to keep in your arsenal, it may be that the filament manufacturer or shop would like to sell these tools to you for an extremely inflated price but actually they can easily be purchased from Amazon or eBay for just a few pounds each.
It’s easy to assume that those sold along with filament would be absolutely perfect for use however I found that actually some slight variations far better than those marketed for 3D printing.
Razor blade Scraper

Okay so my absolute favourite tool is this very simple angled razor blade wielding glass scraper. The razor blade edge so sharp, and so tapered, that all you need to do is get the very thinnest edge of the blade under the edge of your print or brim and then use the angle of the handle to vary gently prize / pop your print from the bed.
I’ve tried kinds of paint scrapers and print scrapers however I’ve always found the actual end of the scalpel or tool to just be too fat.
These inexpensive glass scrapers cost just over a pound from the link below will last over a year and will work almost every time regardless of how large, flat, adhered your 3D print is.
Next up is the other obvious choice the cutters.
Buy the scraper here
Cutters

You absolutely need this for a number of reasons, chopping off ground/damaged ends of the filament. Removing support structures. Pulling shards of filament or splinters from your now bleeding skin,
You can either opt for a pair of long nosed cutters or little stumpy ones what really matters is that they are super sharp and fairly small to get into the nooks and crannies.
Again this can be purchased for just a pound on the nimbler or really in any shop, hardware store, online auction site et cetera.
Next up is either a really good multitool or a decent ball kit with small precision drivers.
Precision Driver Multi-tool

Precision driver is really important because sometimes you will need to undo a bolt or an allen key where there isn’t much room but that you’d still need to apply sufficient torque.
A precision driver works by allowing you to rest the end of the driver in the centre of the palm of your hand and then use your other fingers to twist the head of the driver allow you to easily free the tightest of nuts or screws.
I’ve had loads of drivers. This is my favourite. It’s metal, solid and has a decent number of ends (that have nice and small tips for common electronic components). They are actually longer ends than usual, allowing slightly better maneuverability when the the actual end of the tool itself could foul casings etc.
Precision drivers may actually be extended usually a number of inches to give them added versatility versus a solid single tool.
Spend a little extra here you find you actually look after the tool, and also when using it is just a far more pleasant pleasurable experience. Looking at around £20 for this one you can buy from the link below I love it, even the case is nice and strong.
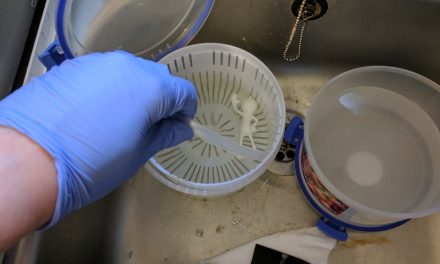
Okay, so using hairspray on a glass bed, while often compared to other methods such as PEI, Kapton, Buildtak etc. is still a very favoured bed adhesion method to a lot of people.
When I bought my second printer the original owner gave me a tip on how to apply hairspray perfectly across the bed every time. He simply used paper kitchen tiles sprayed low hairspray into the towel and wipe that over the bed. Rinse and repeat three or four times.
Buy it here
Buy a pack of 50 here

I’ve adapted this very slightly I actually these standard blue Jay cloths and they allow me to carry out the process literally hundreds of times without having to throw it away (slightly more environmentally friendly).
These cost are literally pennies each yet is always great to have a bunch around, you can use them for applying hairspray or or wiping your nozzle clean between uses.